
Background music can make a video feel polished and complete. However, problems begin when someone starts speaking over that music. Both sounds compete, making important narration harder to hear clearly. Lowering music throughout leaves quieter sections sounding noticeably flat. Keeping it louder can bury parts of the spoken message.
Manually changing volume levels across every section quickly becomes tedious. Audio ducking solves this by lowering music whenever speech begins. Once speech ends, the background music returns to normal volume. Wondershare Filmora makes this adjustment easier during everyday video editing. This guide explains how it works and how to use it.
Part 1. What Is Audio Ducking?
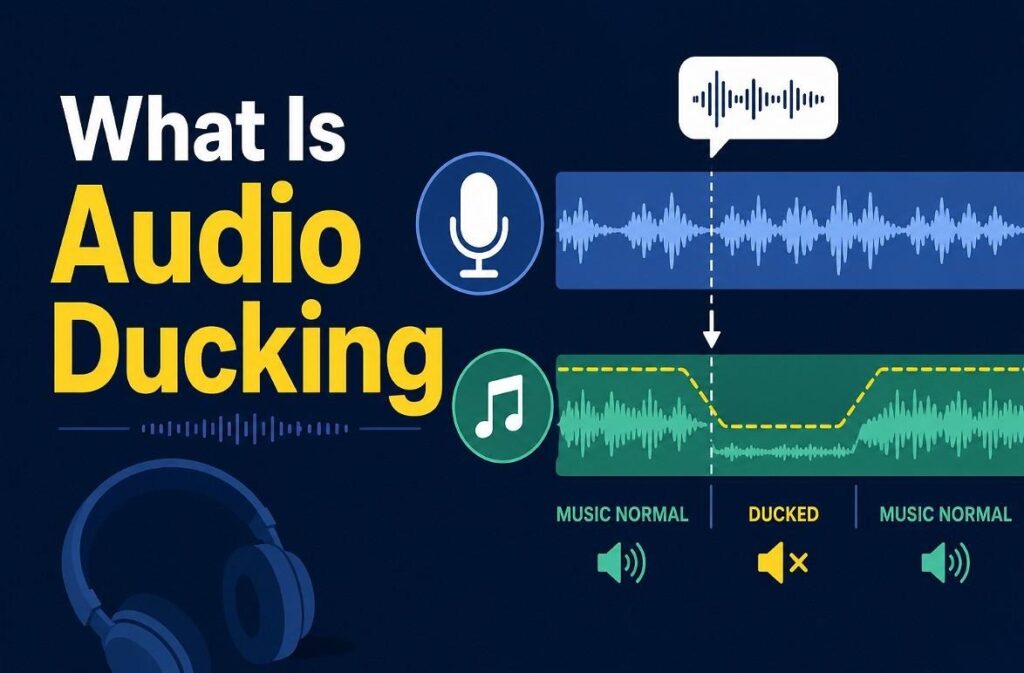
So, what is audio ducking in practice? It is a technique that lowers one audio track while another plays. Music stays at its normal level until the voiceover begins. It then drops during speech and rises again afterward.
The name reflects how background audio “ducks” beneath the main sound. The music remains present rather than disappearing from the timeline. Only its volume changes as the foreground audio comes and goes. This keeps speech clear without leaving quieter sections without background music.
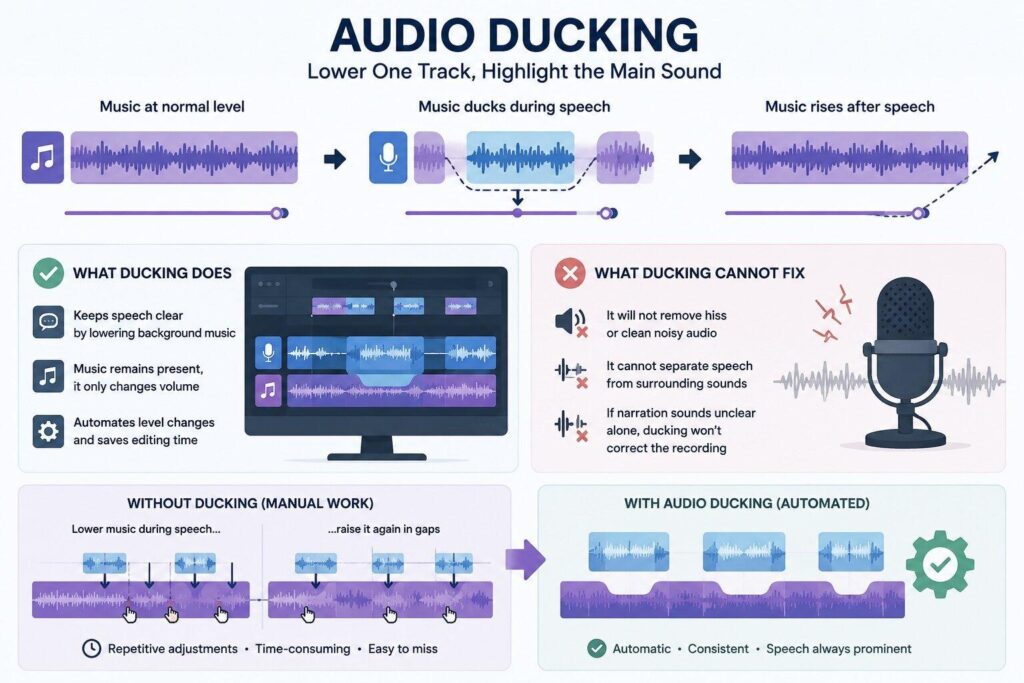
It is equally important to understand what ducking cannot fix. It will not remove hiss or clean a noisy recording. It also cannot separate speech from surrounding sounds within one recording. Those problems require noise reduction or other audio cleanup tools. If narration sounds unclear alone, ducking cannot correct the recording itself.
For example, music may accompany an entire narrated video. Without ducking, editors must lower it whenever the speaker begins. They must then raise it again during gaps between sections. Repeating those adjustments manually can create considerable timeline work. Audio ducking automates those level changes while keeping narration prominent.
Part 2. Where Is Audio Ducking Commonly Used?
The feature works best when speech and background music repeatedly overlap. Instead of changing volume at every speaking point, automatic ducking handles those recurring adjustments for you. These video formats benefit most from that approach:
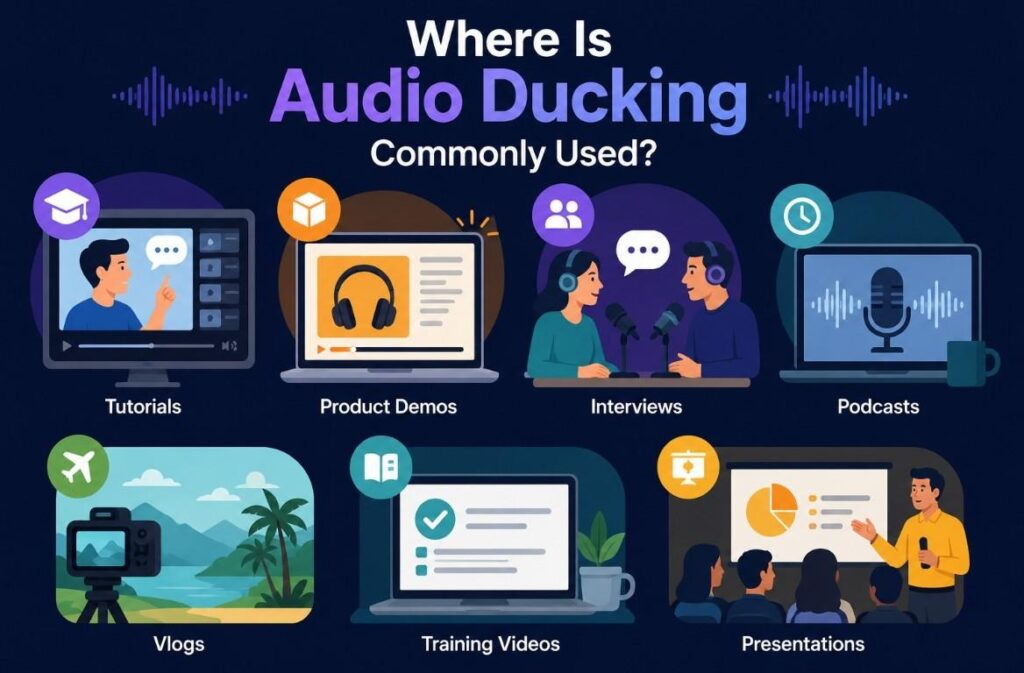
- Narrated Tutorials: Music supports the video while staying behind continuous spoken instructions.
- Product Demo Videos: Background music adds energy without overpowering important product explanations.
- Multi-Speaker Interviews: Changing voice levels makes consistent background music harder to maintain manually.
- Long-Form Video Podcasts: Extended conversations can otherwise require frequent music adjustments throughout editing.
- Travel and Lifestyle Vlogs: Music carries visual sequences before dropping beneath direct-to-camera speech.
- Instructional Training Videos: Clear narration remains essential when viewers follow detailed processes and instructions.
- Narrated Presentations: Background music maintains momentum without competing with important spoken information.
These formats share the same pattern: speech repeatedly starts and stops. That makes automatic ducking particularly useful across longer, narration-heavy edits. If lengthy pauses also interrupt the pacing, Filmora Silence Detection can identify quiet sections for removal. The two features solve different audio problems while helping streamline the editing workflow.
Part 3. When Is Audio Ducking Unnecessary?
Not every project need changing music levels throughout the timeline. When one volume setting maintains a clear mix, manual adjustment is often simpler. In these situations, audio ducking may add little practical value:
| Situation | Why Manual Lowering Is Enough |
| Uninterrupted Narration | If speech continues throughout, music can remain at one lower level. |
| Short Music Sections | A brief music bed may take less time to adjust manually. |
| Music Between Speech | When music and speech never overlap, nothing needs automatic lowering. |
| Already-Low Background Music | Music sitting comfortably below speech may need no further adjustment. |
| Videos Without Speech | Montages and B-roll sequences provide no dialogue for ducking to follow. |
The deciding question is whether the audio balance changes during playback. If one music level works throughout, manual volume control is usually enough.
Part 4. How Audio Ducking Works in Filmora
Setting up Filmora audio ducking takes about a minute once the audio is arranged properly, and these 5 steps cover the whole setup.
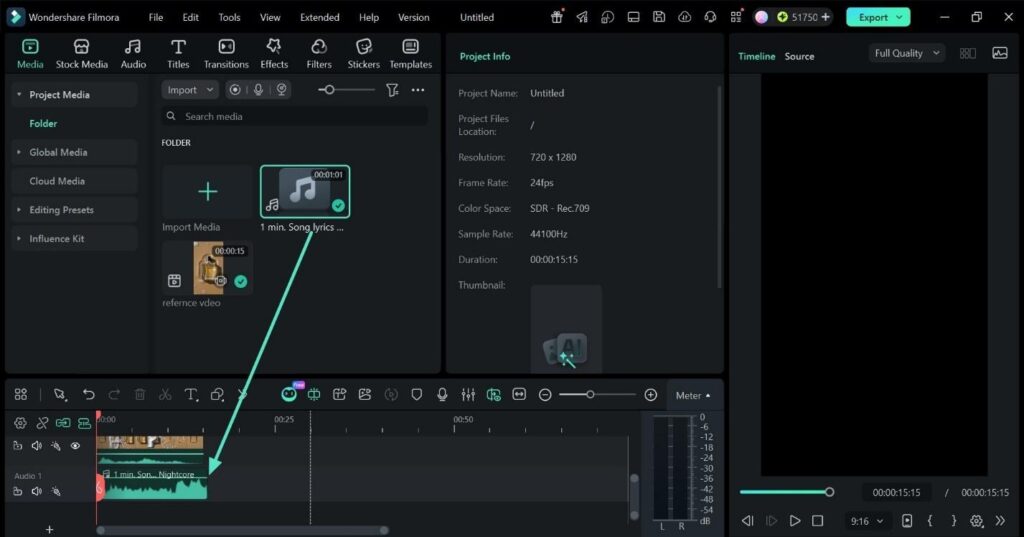
Step 1. Put Voice and Music on Separate Tracks
Drop your “Voiceover” or “Dialogue” on one track and the music on another. The feature works by changing one track relative to the other, so they cannot share a row.
Step 2. Select the Voice Clip, Not the Music
This is the step people get backward. Click the “Clip” you want to hear more clearly, since that is what triggers the effect. Selecting the music instead produces the opposite of what you wanted.
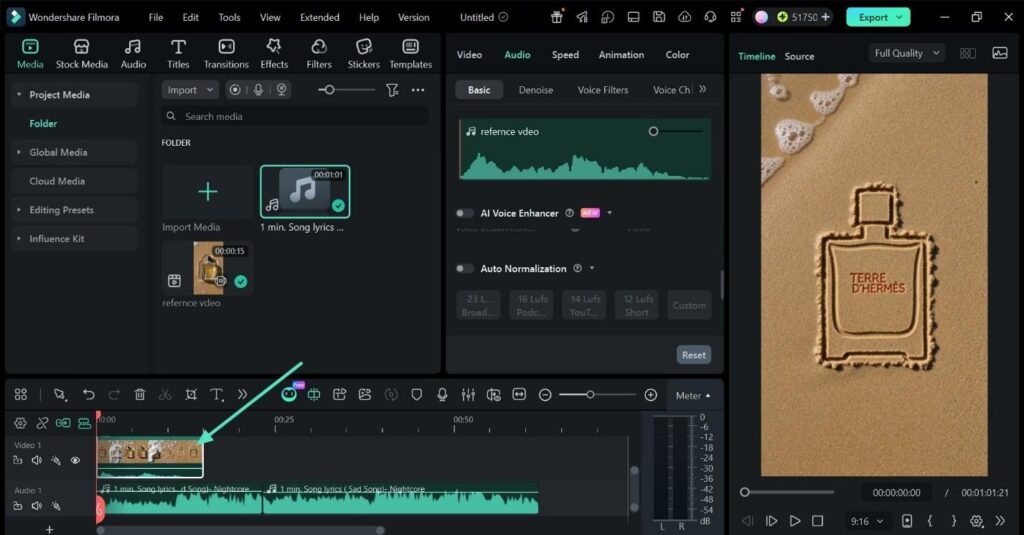
Step 3. Enable Audio Ducking
Open the “Audio” section in the properties panel on the right and switch the “Audio Ducking” toggle on. Right-click the clip and choose “Adjust Audio” to open the same controls.
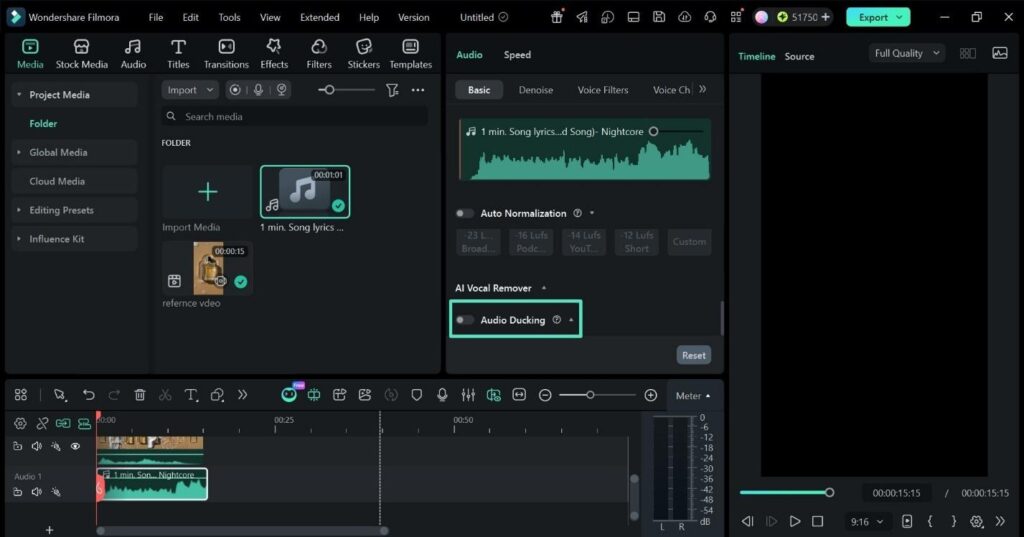
Step 4. Set the Duck Amount
The “Ducking” slider defaults to 50%, which means background audio drops to half its level under speech. Raise it if the music still competes or lower it if the background vanishes too completely.
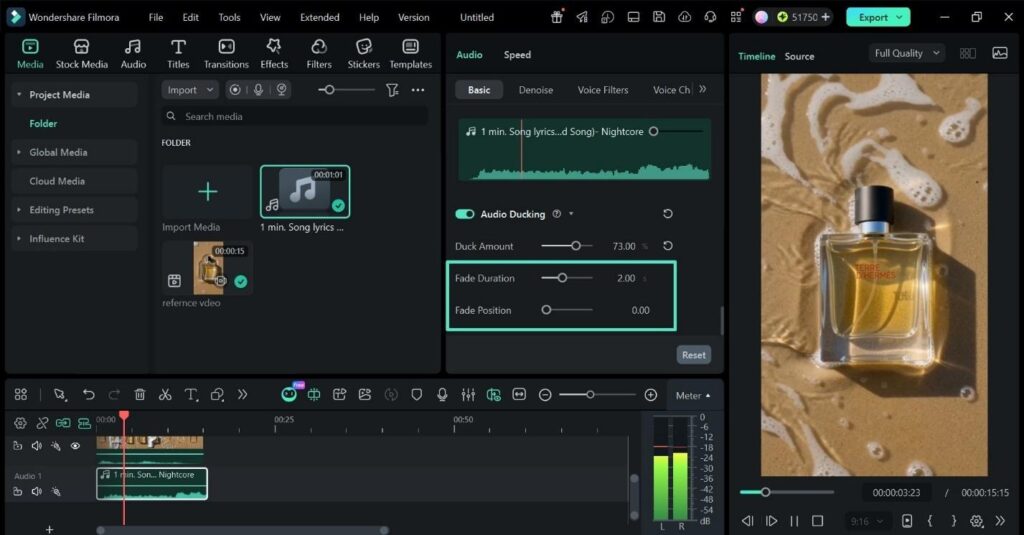
Step 5. Adjust the Fades and Preview
“Fade Duration” controls how gradually the music drops and returns, while “Fade Position” sets when the change begins. Play a section where speech starts and stops to hear whether both transitions sound natural.
Note: You can select several dialogue clips together before enabling the toggle, which applies one consistent setting across a whole conversation rather than clip by clip.
Part 5. What Should You Check After Applying Ducking?
Automatic ducking follows the settings you choose, but the first result may not sound natural. The following 2 review passes can reveal most balance problems before you finish:
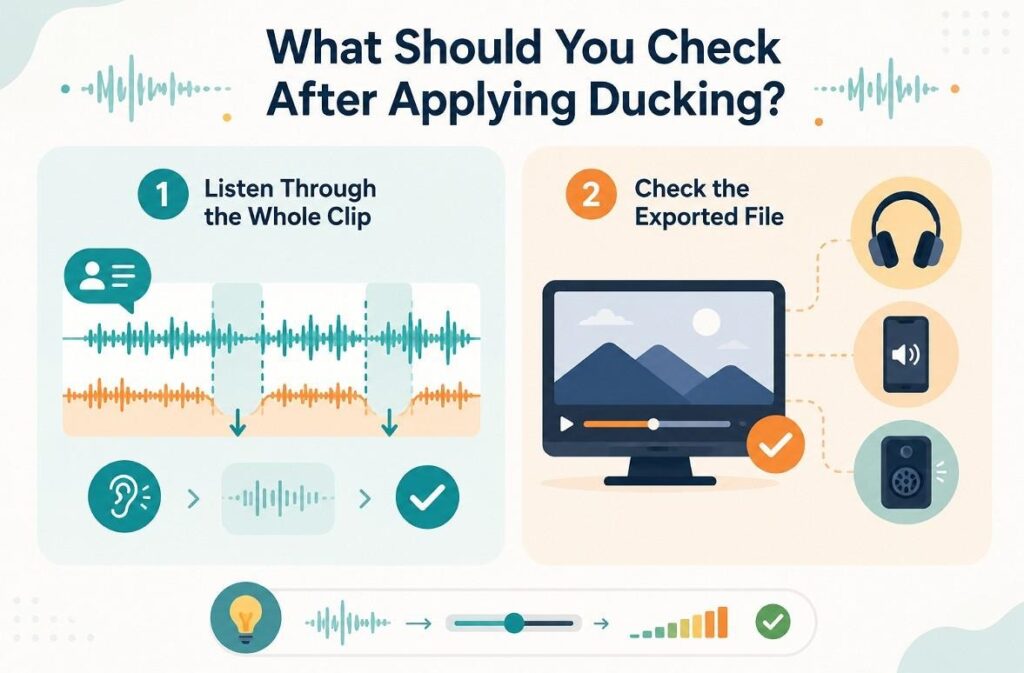
Listen Through the Whole Clip
Check whether speech stays clear while the music remains naturally present. Pay close attention to short pauses between sentences and phrases. These gaps can cause unnecessary volume changes when they occur frequently. When unwanted pauses are the problem, the Filmora Silence Detection guide covers another way to clean up those gaps before finalizing the audio.
Check the Exported File
Listen to the finished video outside the editor before publishing it. Test it through headphones and a phone or everyday speaker. Different playback devices can make the audio balance sound noticeably different. If music still competes with speech, adjust the ducking strength again.
Conclusion
Background sound should support speech without competing for the listener’s attention. Audio ducking makes that balance easier across longer, narration-heavy edits. It reduces repeated volume adjustments while keeping music levels more consistent. When one volume setting works throughout, manual adjustment remains the simpler option. For projects where speech and music frequently overlap, Wondershare Filmora provides a practical way to manage ducking within the editing workflow.